
Guide to Cleaning Orphaned Paint & Clear Coat Chips
- 1. Understanding Orphaned Paint & Clear Coat Chips
- 2. Tools & Materials Needed for Cleaning
- 3. Step-by-Step Guide to Cleaning Paint Chips
- 4. Tips for a Professional-Looking Finish
- 5. Common Mistakes to Avoid
1. Understanding Orphaned Paint & Clear Coat Chips
Orphaned paint and clear coat chips refer to areas on a car’s exterior where the paint and clear coat have been damaged, leaving small but noticeable chips. These chips can be caused by road debris, harsh weather, or minor accidents. Left untreated, they can lead to further paint damage or rusting. Cleaning and repairing these chips not only improves your car’s appearance but also helps maintain its long-term condition. In this guide, we will walk you through the process of cleaning and repairing orphaned paint and clear coat chips to restore your car’s finish.
2. Tools & Materials Needed for Cleaning
Before you begin cleaning orphaned paint chips, ensure you have the following tools and materials:
- Automotive touch-up paint: Choose the right color and brand to match your car's paint.
- Clear coat: A high-quality clear coat will help protect the repair area and blend it with the surrounding paint.
- Microfiber towels: These are soft and non-abrasive, ideal for cleaning and buffing the area around the chip.
- Masking tape: Use this to protect the areas around the chip that you don’t want to paint.
- Polishing compound: To smooth out the surface once the paint and clear coat have dried.
- Touch-up brushes or pens: These help in precisely applying the paint to the affected areas.
3. Step-by-Step Guide to Cleaning Paint Chips
Follow these simple steps to clean and repair orphaned paint and clear coat chips:
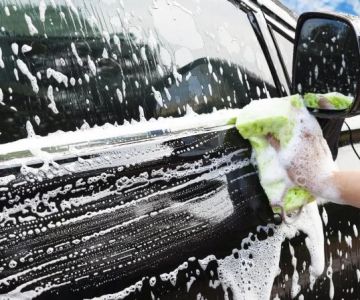
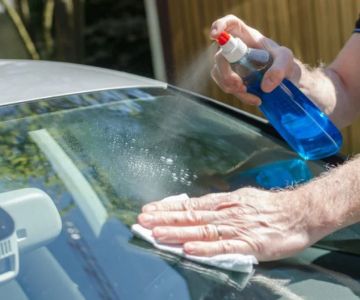
- Clean the Area: Begin by washing the chipped area with soap and water to remove any dirt or debris. Dry it thoroughly with a microfiber towel.
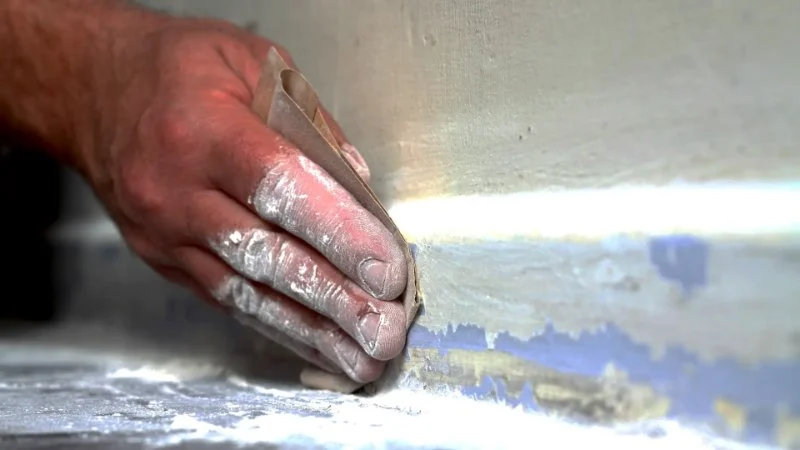
- Sand the Chip (if necessary): If the chip is deep, lightly sand the edges with fine-grit sandpaper to smooth the surface. Be careful not to sand too much to avoid damaging the surrounding paint.
- Apply Touch-Up Paint: Using a small brush or touch-up pen, apply a thin layer of the matching paint over the chip. Allow the paint to dry according to the manufacturer's instructions, typically about 30 minutes to 1 hour.
- Apply Clear Coat: After the paint has dried, apply a thin layer of clear coat over the painted chip to protect it. Let it dry completely before moving to the next step.
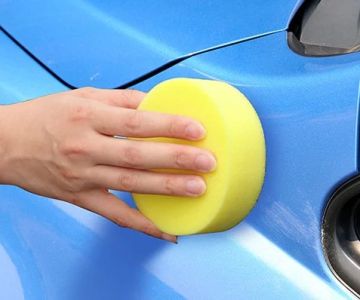
- Buff the Surface: Once the clear coat is dry, use a polishing compound and a microfiber cloth to buff the surface, blending the repaired area with the rest of the paint.
4. Tips for a Professional-Looking Finish
To achieve a professional-quality repair, consider the following tips:
- Use multiple thin layers of paint: Applying several thin layers of touch-up paint helps achieve a smoother, more even finish.
- Choose the right weather: Avoid repairing paint chips on a hot or rainy day. Ideal conditions for applying paint are when the temperature is between 60 and 75°F (15-24°C).
- Allow adequate drying time: Be patient and allow each layer of paint and clear coat to dry thoroughly before proceeding to the next step.
- Blend carefully: When buffing, ensure that the repaired area blends seamlessly with the surrounding paint to avoid noticeable patches.
5. Common Mistakes to Avoid
While repairing paint chips is relatively simple, there are common mistakes that can impact the outcome:
- Not cleaning the area thoroughly: Dirt or grease left on the surface can prevent the paint from adhering properly, leading to poor results.
- Overloading the chip with paint: Applying too much paint at once can result in uneven coverage and a lumpy finish.
- Skipping the clear coat: The clear coat is essential for protecting the paint and ensuring that the repair blends well with the surrounding surface.
- Rushing the process: Taking your time with each step is crucial to achieving a high-quality finish. Don't skip the drying times!
By following these steps, you can effectively clean and repair orphaned paint and clear coat chips, restoring your vehicle's appearance. If you’re looking for high-quality car care products to assist with your repairs, be sure to check out Gibby Car Wash for the best selection of tools and products designed to maintain your car’s finish.

 Self Service Car wash4.0 (170 reviews)
 Dirtbusters Carwash4.0 (142 reviews)
 Car Wash4.0 (15 reviews)
 Professional Wash Systems4.0 (17 reviews)
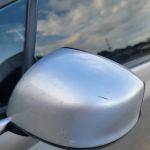 Zips Car Wash4.0 (1016 reviews)
 Squeaky Clean Car Wash4.0 (286 reviews)
 Should You Wash Your Vehicle During the Rainy Season?
 How to Prep Your Vehicle for a Summer Road Trip – Essential Tips
 How Often Should You Wash Your Car in the U.S.? Expert Tips for Car Maintenance
 Budget-Friendly Vehicle Wash Options for Families
 How to Maintain a Ceramic Coated Vehicle for Lasting Shine and Protection
 How to Wash a Tesla or EV Without Damaging Sensors (U.S. Guide)