
- surface-prep-basics - Understanding adhesive types and paint safety
- heat-softening-methods - Using warmth for safer decal removal
- safe-cleaning-solutions - Choosing non-damaging adhesive removers
- paint-protection-aftercare - Restoring shine after residue removal
- real-world-scenarios - Common mistakes and how to avoid them
Why Adhesive Residue Becomes a Bigger Problem Than Expected
When people search for How to Remove Adhesive Residue From Car Paint – Decal and Tape Removal, they usually assume it’s a quick wipe-and-done situation. In reality, adhesive left behind from stickers, parking permits, dealership decals, or masking tape can bond tightly with automotive clear coat over time. Heat from the sun, dust, and repeated washing make it worse, turning what looks like a small cosmetic issue into a stubborn patch that resists normal cleaning.
One of the most common misunderstandings is that stronger scrubbing solves the problem. In practice, that approach often damages the clear coat instead of removing the glue. The goal is not force, but controlled breakdown of the adhesive bond while protecting the paint underneath.
Understanding What You’re Actually Removing
1. Adhesive chemistry and paint sensitivity
Most car decals and tapes use pressure-sensitive adhesives designed to stick under heat and humidity. These materials soften when warm but harden and crystallize over time. That is why older residue becomes brittle yet sticky at the same time, making removal tricky.
2. Why car paint is vulnerable
Modern automotive paint includes a clear coat layer that protects pigment underneath. While durable, it is still sensitive to harsh solvents and abrasive tools. The challenge is removing adhesive without clouding or scratching that protective layer.
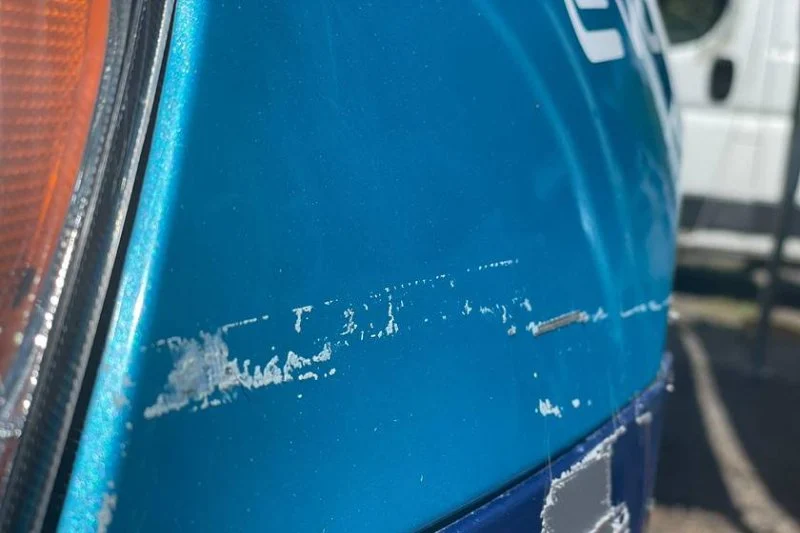
3. Real-world example
A driver in California once removed a long highway toll sticker after five years. Instead of loosening easily, the adhesive left a yellowish outline that remained visible even after washing. This is a classic case of aged adhesive bonding chemically with surface contaminants, not just sitting on top of the paint.
Heat-Based Softening: The First Controlled Step
1. Why heat works better than force
Warm air softens adhesive polymers, allowing them to release their grip. This reduces the need for scraping, which is where most paint damage begins.
2. Safe application approach
A gentle heat source should be moved continuously across the affected area. The goal is to make the residue pliable, not to overheat the paint. If the surface becomes uncomfortable to touch, it is already too hot.
3. Practical observation
Detailing professionals often note that even a few seconds of proper warming can reduce removal time by half. It transforms brittle glue into a soft layer that lifts more cleanly.
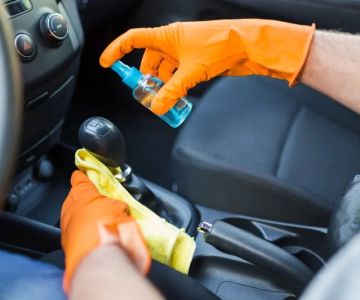
Safe Cleaning Solutions That Protect the Finish
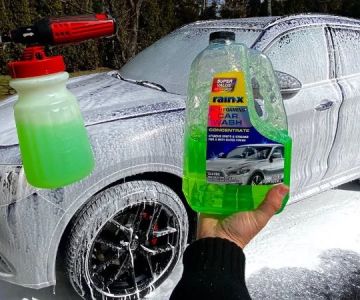
1. Choosing the right solvent type
Not all cleaners are safe for automotive finishes. Mild citrus-based removers and dedicated automotive adhesive solutions are generally safer than household chemicals, which may contain aggressive solvents.
2. Layer-by-layer removal technique
Instead of trying to remove everything at once, professionals recommend working in thin layers. Apply solution, wait briefly, then gently wipe. Repeating the process reduces risk to the paint surface.
3. Common mistake to avoid
A frequent error is soaking the area excessively. While it may seem effective, prolonged exposure can dull the clear coat and create uneven shine patches.
Mechanical Removal Without Damage
1. Plastic-based tools instead of metal
Plastic scrapers or even a credit-card edge can help lift softened adhesive. Metal blades should be avoided entirely because they create micro-scratches that become visible under sunlight.
2. Controlled pressure technique
The key is angle and pressure, not force. A shallow angle allows residue to roll off instead of digging into the paint.
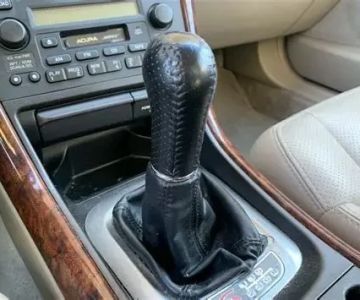
3. Case scenario
A car owner removing dealership branding on a rear trunk panel found that alternating between heat and gentle scraping reduced residue removal time dramatically without leaving swirl marks. This balanced approach is widely used in professional detailing.
When Adhesive Becomes Stubborn: Advanced Techniques
1. Re-softening cycles
For older adhesive, repeating heat-soften-wipe cycles is more effective than increasing chemical strength. Patience becomes a key factor in preserving paint quality.
2. Clay bar refinement
After most residue is removed, a detailing clay bar can help lift microscopic adhesive remnants embedded in the clear coat texture.
3. Professional insight
Detailers often say that what looks like “clean” paint under normal lighting may still hold adhesive traces visible under angled sunlight. Refinement steps ensure a uniform finish.
Protecting Paint After Removal
1. Restoring surface clarity
After adhesive removal, the paint surface may lose some gloss due to cleaning friction. A light polish can help restore depth and shine.
2. Adding a protective layer
Applying wax or sealant creates a barrier that makes future adhesive removal easier. It reduces bonding strength between glue and clear coat.
3. Long-term maintenance habit
Regular washing and surface protection reduce the chance of adhesive becoming permanently embedded in paint layers.
Real-World Mistakes and What They Teach
One common story among drivers involves peeling stickers too quickly after long-term exposure. Instead of removing cleanly, the adhesive tears unevenly, leaving patchy residue. Another frequent issue comes from using household cleaners that are too harsh, leading to dull spots that require professional correction.
These experiences highlight an important lesson: adhesive removal is less about speed and more about controlled breakdown. The safest results always come from gradual methods rather than aggressive shortcuts.
Practical Workflow Used by Professionals
1. Step 1: Warm the surface
Loosen adhesive without stressing paint structure.
2. Step 2: Apply safe remover
Break down adhesive bonds slowly and evenly.
3. Step 3: Gentle lift
Remove softened residue using controlled tools.
4. Step 4: Refine and protect
Restore finish and apply protective coating for future resistance.
Why Proper Method Matters More Than Products
Many drivers assume that expensive cleaners alone solve the problem, but technique plays a far bigger role. Even basic products can perform effectively when combined with correct temperature control, timing, and pressure management. This is where most successful outcomes come from.
For drivers who frequently deal with decals, stickers, or tape residue, learning these controlled methods can save both time and paint condition. In professional environments, services like Gibby Car Wash often apply these exact principles to ensure safe, consistent results without surface damage.
Final Practical Insight for Long-Term Care
Adhesive removal is not a one-time skill but part of overall vehicle surface care. Once you understand how adhesives interact with paint, future removal becomes significantly easier and less risky. The key is patience, controlled heat, and protective finishing.


 Super Clean Car Wash3.0 (89 reviews)
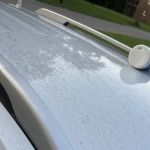 Touchless Automatic4.0 (26 reviews)
 Halo Car Wash3.0 (5 reviews)
 Charlie's Car Wash4.0 (198 reviews)
 Country Club Car Wash3.0 (86 reviews)
 National Car Wash3.0 (267 reviews)
 Tips to Remove Bird Droppings Without Damaging Paint
 How to Wash Classic Cars Without Damaging Original Paint – Essential Tips for Preserving Your Car's Value
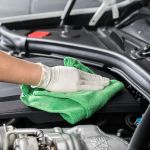 How to Clean Engine Bay Without Causing Damage
 Vehicle Wash Tips for RVs and Larger Vehicles in 2024
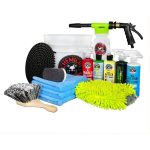 5 Must-Have Tools for a Perfect At-Home Car Wash
 Should You Wash Your Vehicle During Rainy Season? Expert Advice